With an events site, you may want to create that email list to get your subscribers always updated when there are new events.
To add a subscription box to your site we recommend using the Mailchimp for WordPress plugin to add forms for this purpose.
Thus, after installing this plugin, head over to Mailchimp and select the forms menu as shown below.

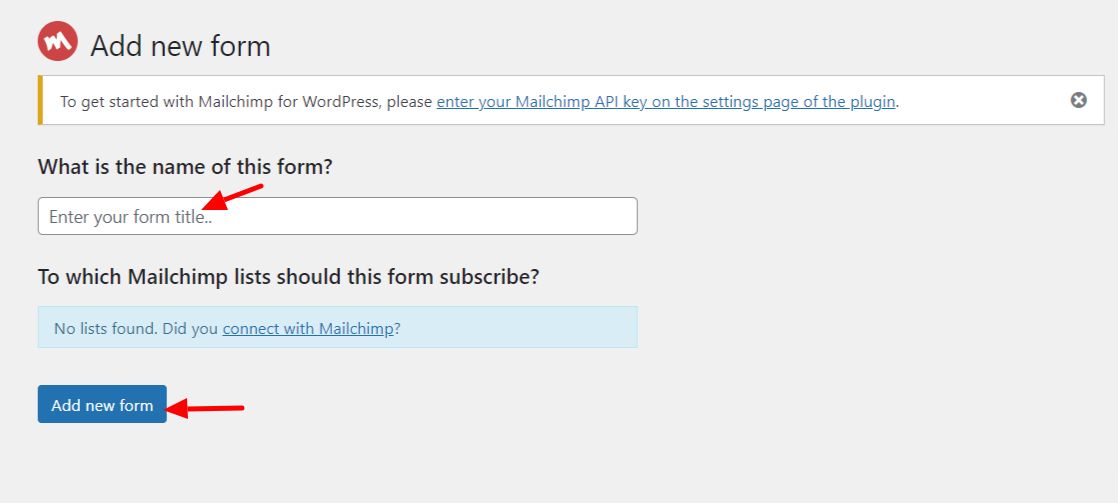
On the next screen, you need to create your new form. Therefore, enter the title of the form and hit Add new form.
You can then include the fields you wish to appear in this form. Since it is an email collection form you can go with the Email and terms checkbox.
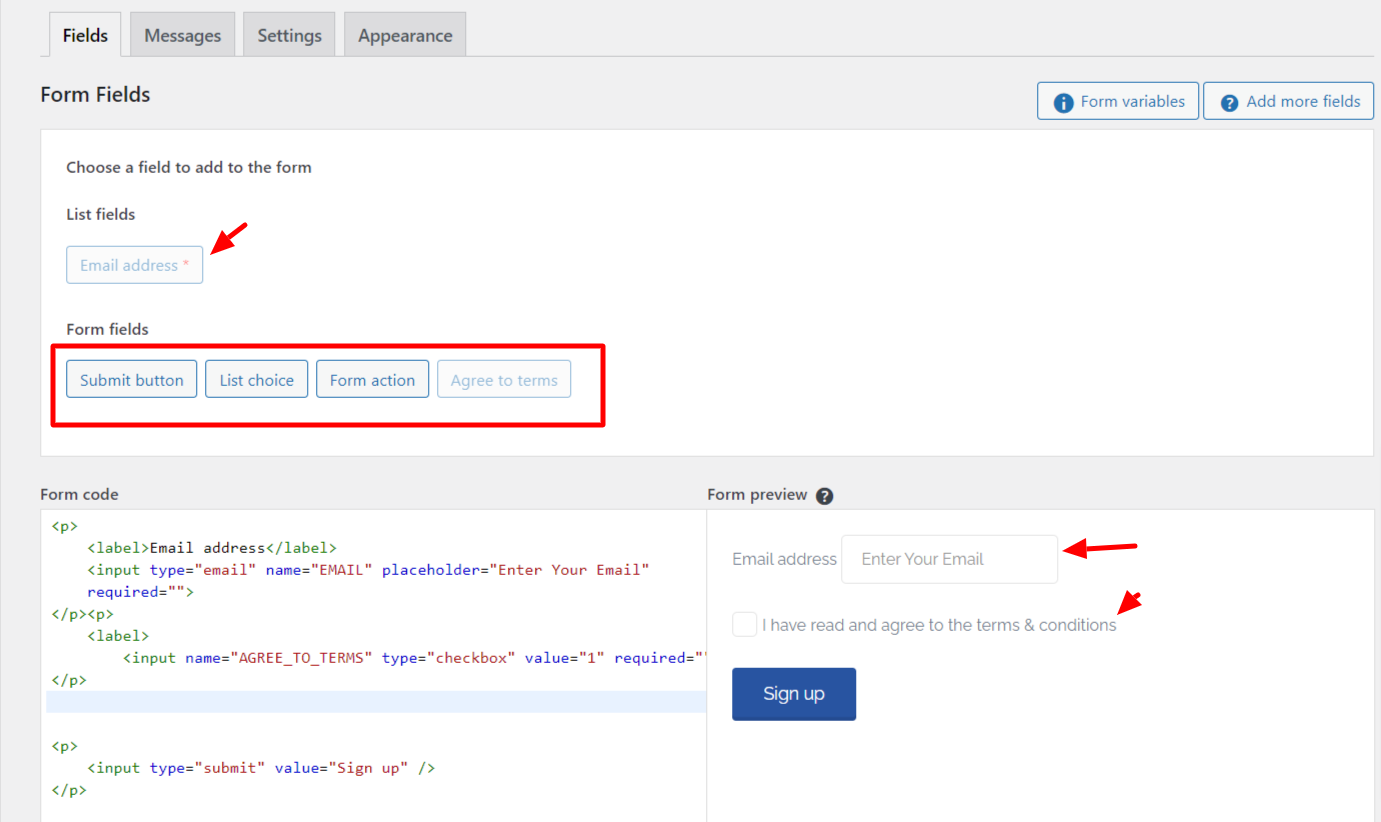
Lastly copy the form’s shortcode which you will need in the next step to add the form to your site:

Inserting the Form in your Events site
To add the form to your event’s site here, you can use widgets to do so. You may opt to add them within the footer, main content, or a sidebar section. With this tutorial, we will use the footer section.
- Thus head over to Appearance > Widgets section.
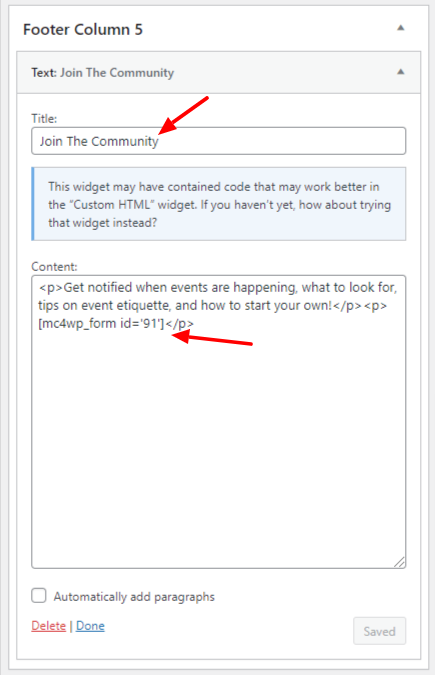
- Then select the text widget and add it to the Footer widget column you wish to add the form.
- Give it a label and a description on and at the end of it, paste the forms’ shortcode you had created earlier. See the example screenshot below:
By doing so you should notice the form showing in the footer section of your site.