This Plugin helps users to report malicious posts pages, custom post types for instance the listings in Listify and job posts in Jobify.
Let your users catch and report inappropriate posts for you to review and remove. If you allow users to report / flag inappropriate content, then you’ll be able to quickly respond to bad posts by deleting them.
First thing you need to do is to install and activate the WP Job Manager Reporting plugin.
Plugin Download & Installation
When it comes to downloading the plugin, users can head over to the Astoundify download page here
For the plugin installation, it should be installed just like any other WordPress plugin.
Since the plugin will download on your computer, you should install it manually by going to Plugins > Add New.
Next, click on upload new plugin and fetch the zip file from your local storage.
Once installed you should see the custom post type for the plugin created as shown below.

Backend Plugin Options.
The plugin contains several options considering its functionality is also minimal.
- To access these settings head over to Reported Posts > Options.
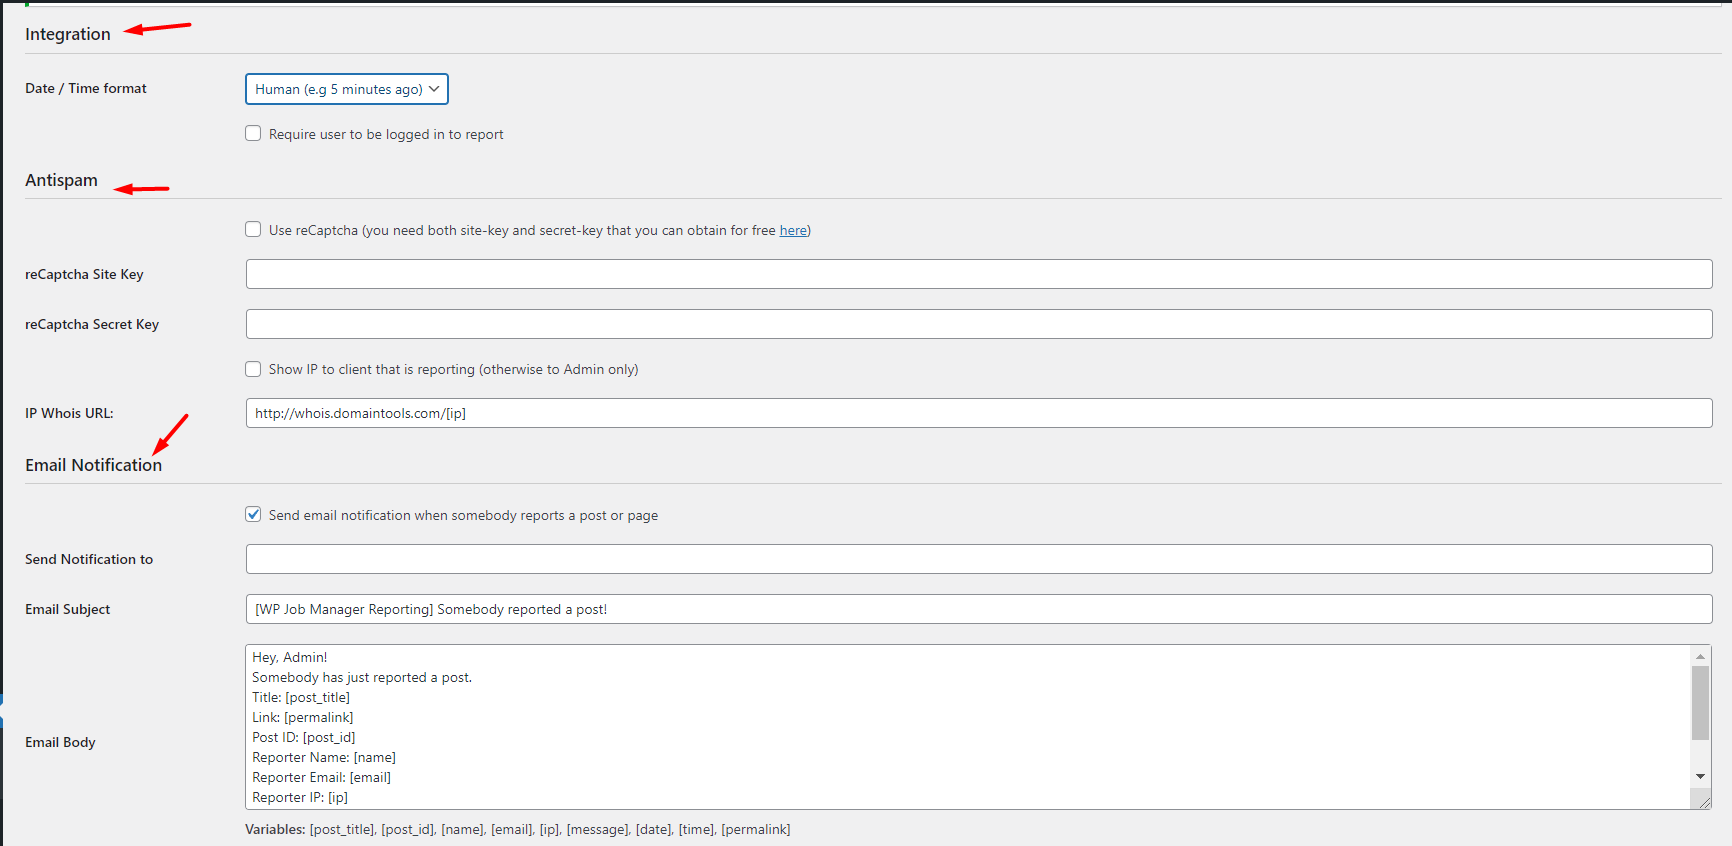
- The options that support the admin section contains the Integrations, Anti Spam, and Email notification options
- Under Integrations, you can enable the “Human” option or the “Date & Time” option. Additionally, you can enable the option to allow reporting only for logged-in users.
- Anti Spam option is used to enable the Recaptcha method while reporting. This will filter out any bots from misusing the plugin.
- On the other option, the Email notification is used to notify the admin once a post/listing is reported. This can be customized as per the admin’s preference.
Here is a screenshot of these options:
FrontEnd Options
On the other hand, there are options that simply display on the FrontEnd.
This is used to display the options and the user interface for the reporting form.
The options are known as “Texts”. You can customize these based on your preference as well.

Once you are done configuring the settings, make sure to click the Save button.
To preview how the report a post/listing option looks on your site, you would need to add the reporting widget in the post or listing.
Head over to your WordPress dashboard > Appearance > Widgets then select the Report Job widgets and add them to the widget section you wish to display it on.

Once you have the widgets safe ensure you have entered a label for the button which should be displayed in the frontend.

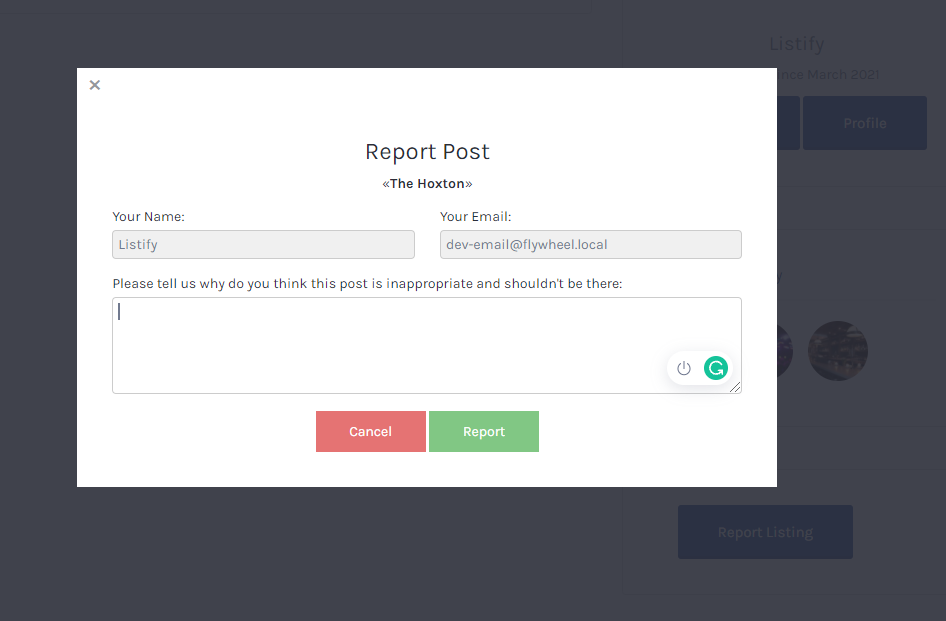
Heading over to the frontend you should just see the Reporting Widget displaying with a button prompting the user to report the listing.
In case the user reports a listing, the plugin will display a quick AJAX feedback as shown below.
When a post is reported the admin is notified and all reported posts/listings are displayed under the Reported Posts section.
As an admin, you can choose to edit, unpublish or delete the reports of the listing or posts. This section can be taken as the moderation queue for a site administrator or editor to review.

We hope this guide helped you to learn how to allow users to report inappropriate listings on your WordPress site.
Should you have any questions you can always contact us via our support page or contact page.