Contact Form 7 is a popular WordPress plugin that allows you to create and manage contact forms on your website. By integrating Contact Form 7 alongside the Contact Listing plugin with the Jobify theme, you can easily set up a job application form for users to submit their applications. This comprehensive guide will walk you through the process of installing, configuring, and using the Contact Form 7 plugin with the Jobify theme.
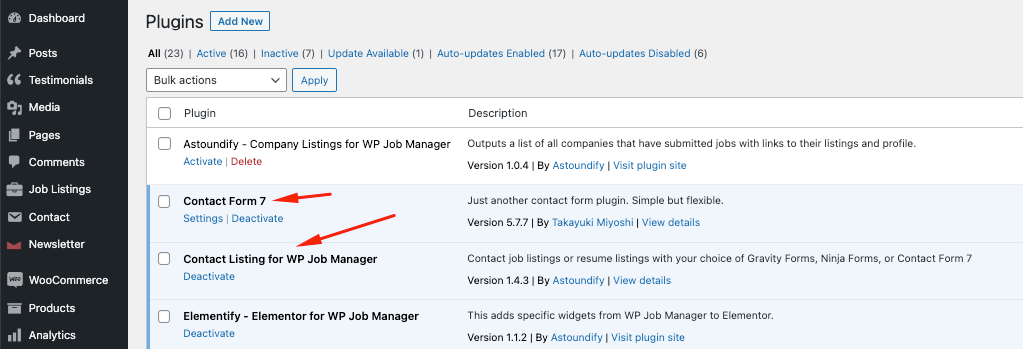
Step 1: Install and Activate the Contact Form 7 Plugin and the Contact Listing for WP Job Manager
- Log in to your WordPress admin panel.
- Navigate to “Plugins” and click on “Add New.”
- In the search bar, type “Contact Form 7.”
- Locate the Contact Form 7 plugin and click on “Install Now.”
- After the installation, click on “Activate” to activate the plugin.
As for the contact listing plugin
- Head over to the Astoundify addon page and go to the contact listing page
- Download the free plugin
- Navigate to “Plugins” and click on “Add New.”
- On the top bar, select “Upload Plugin”
- Select the Contact listing plugin you downloaded and click on “Install Now.”
- After the installation, click on “Activate” to activate the plugin.
Step 2: Create a Job Application Form
- In your WordPress admin panel, go to “Contact” and click on “Add New.”
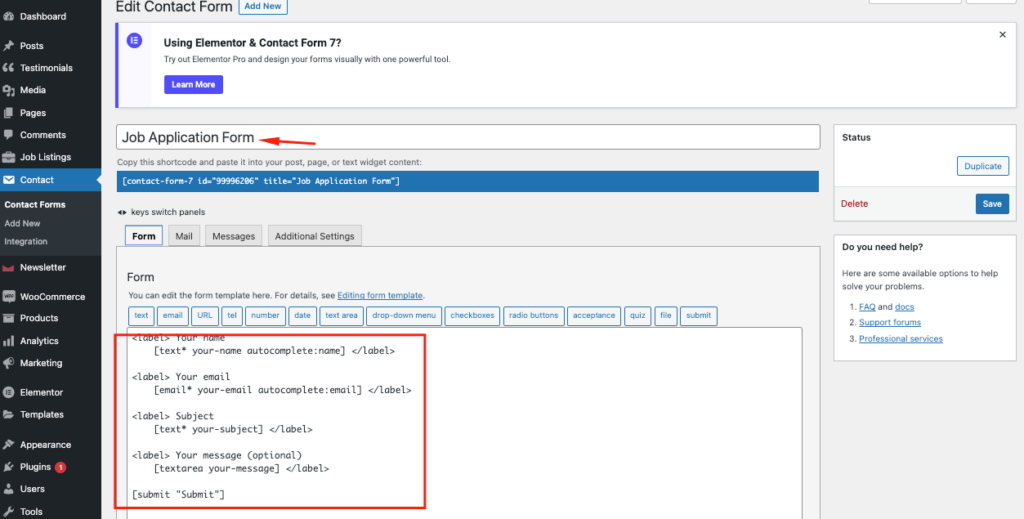
- Give your form a name, such as “Job Application Form.”
- Edit the default form template provided by Contact Form 7 to match your job application requirements.
- Add fields like “Name,” “Email,” “Phone Number,” “Cover Letter,” “Resume/CV,” etc.
- Customize field labels, placeholders, and validation as needed.
- Use the available form tags to generate appropriate form fields, such as
[text your-name]for the name field.
- Configure additional form settings, including email notifications, success messages, and redirection after form submission.
- Save the form by clicking on the “Save” button.
Step 3: Configure Email Notifications
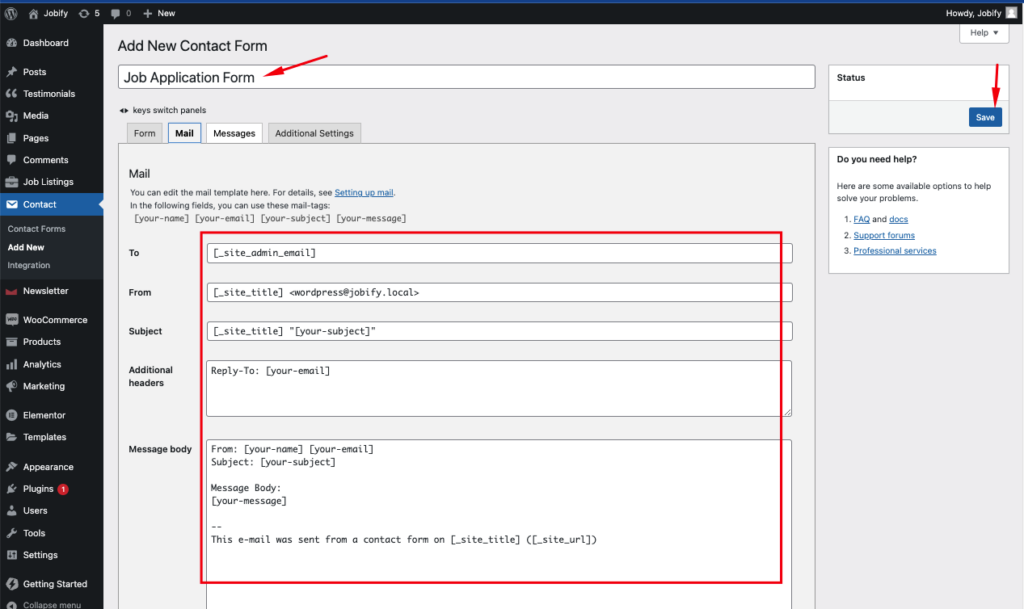
- In the Contact Form 7 editor, go to the “Mail” tab.
- Customize the email settings according to your requirements.
- Enter the recipient’s email address in the “To” field.
- Set the subject and message body for the email.
- Utilize form tags to dynamically include user-submitted data in the email.
- Save the changes by clicking on the “Save” button.
Step 4: Integrate the Job Application Form with Jobify Theme
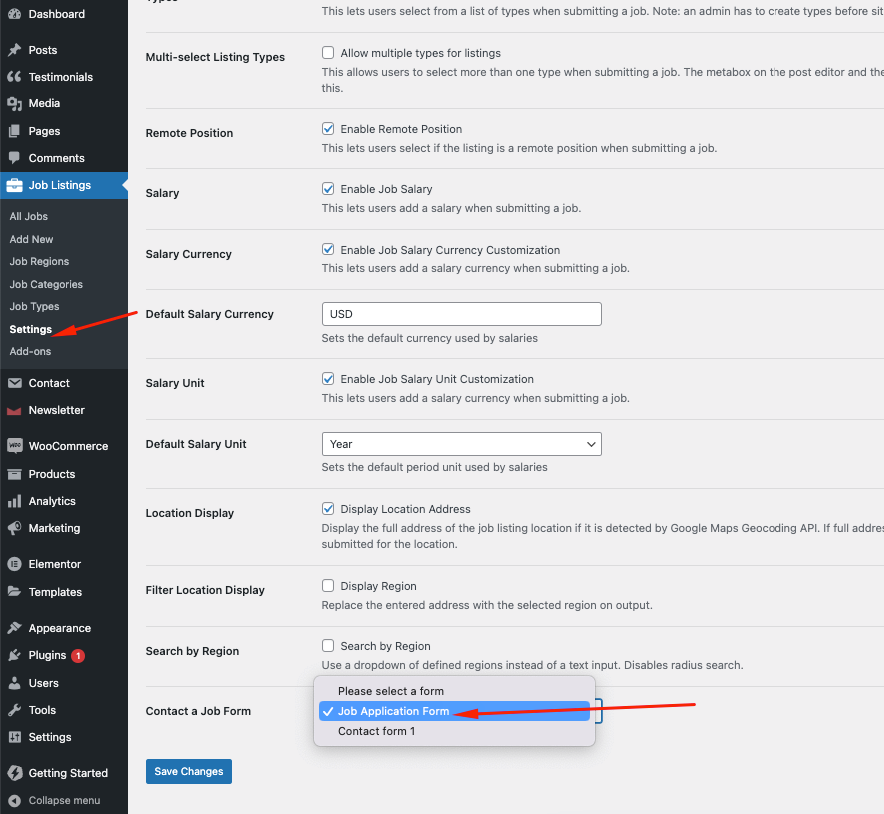
- Head to the Jobify theme settings by navigating to “Job Listings Panel” > “Settings.”
- Click on the “Job Listings” tab.
- Scroll down to the bottom of the page and locate the option for “Contact a Job Form.”
- From the dropdown menu, select the form you created using the Contact Form 7 plugin, such as “Job Application Form.”
- Save the changes to apply the form integration.
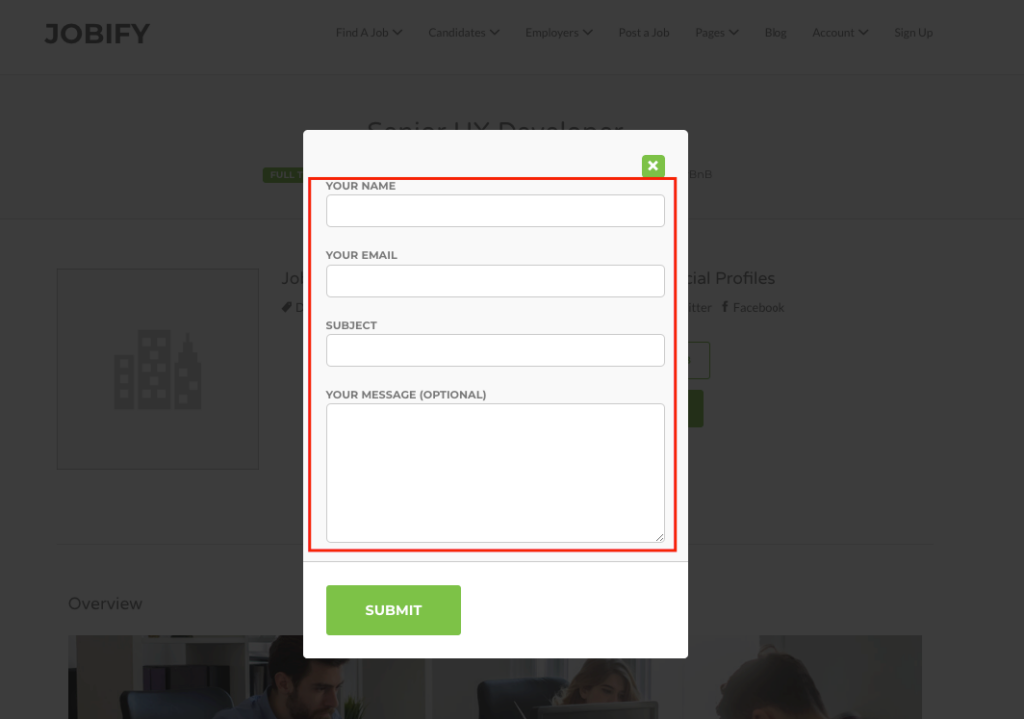
Step 5: Test the Job Application Form
- Open your website and navigate to the page where the job application form is displayed.
- Fill in the required fields with sample data, such as name, email, phone number, cover letter, and resume.
- Submit the form to ensure it functions correctly.
- Verify that you receive the email notification with the submitted job application data.
Congratulations! You have successfully set up and integrated the Contact Form 7 plugin with the Jobify theme to create a job application form