The Listify theme includes a built-in icon set with over 500 custom icons that can be added to various theme elements. One of the most common uses is to append icons to navigation menu items. These icons can be used in the Primary, Secondary, and Tertiary menu locations.
1. Choosing an Icon
Listify uses the Ionicons icon library. To choose an icon:
- Visit the Ionicons v2 icon list.
- Browse the available icons and select the one you’d like to use.
- Copy the class name of your chosen icon — for example:
ion-alert
2. Enable CSS Classes for Menu Items
WordPress does not display the CSS Class input by default in the menu editor. To enable it:
- Go to Appearance > Menus in your WordPress dashboard.
- Click on the Screen Options tab at the top-right corner of the screen.
- Check the box for CSS Classes.
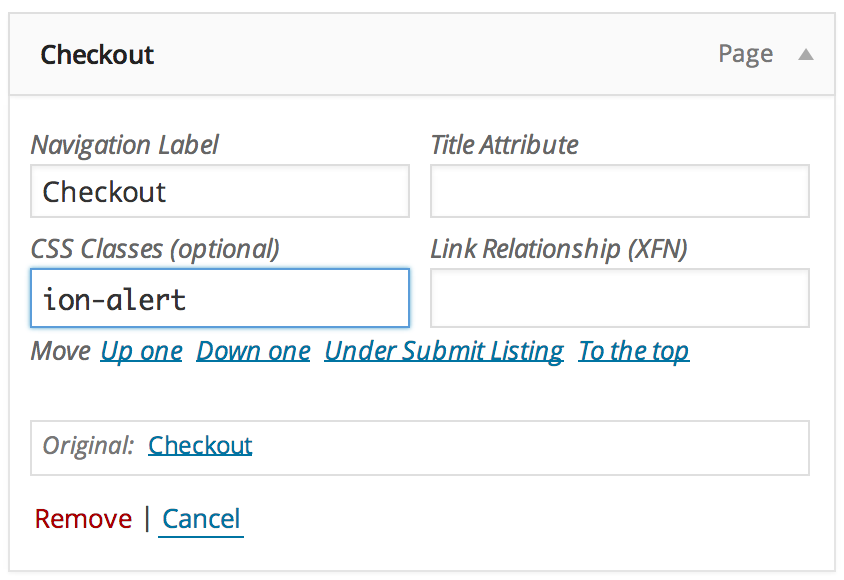
3. Add the Icon Class to a Menu Item
Now that CSS Classes are enabled, you can apply your icon:
- Locate the menu item you want to customize under Appearance > Menus.
- Click to expand it and look for the CSS Classes (optional) field.
- Paste the icon class you copied earlier (e.g.,
ion-alert) into this field. - Save the menu.
This will automatically prepend the selected Ionicon to the menu item label on the frontend.
Tips
- You can combine icons with custom styling (e.g., spacing or color) by adding multiple CSS classes.
- Icons can enhance UX by visually indicating the purpose of menu items (e.g., login, dashboard, location).
- Used in the Tertiary Menu, icons can highlight important user dashboard sections or account features.