- Listify Theme: Requires the Favorites for WP Job Manager plugin.
- Jobify Theme: Uses the Bookmarks for WP Job Manager plugin.
❤️ Favorites for WP Job Manager (Listify)
Once the Favorites for WP Job Manager plugin is installed and activated, your Listify-powered site will display a heart icon on each listing — both on listing archive pages and individual single listing pages.
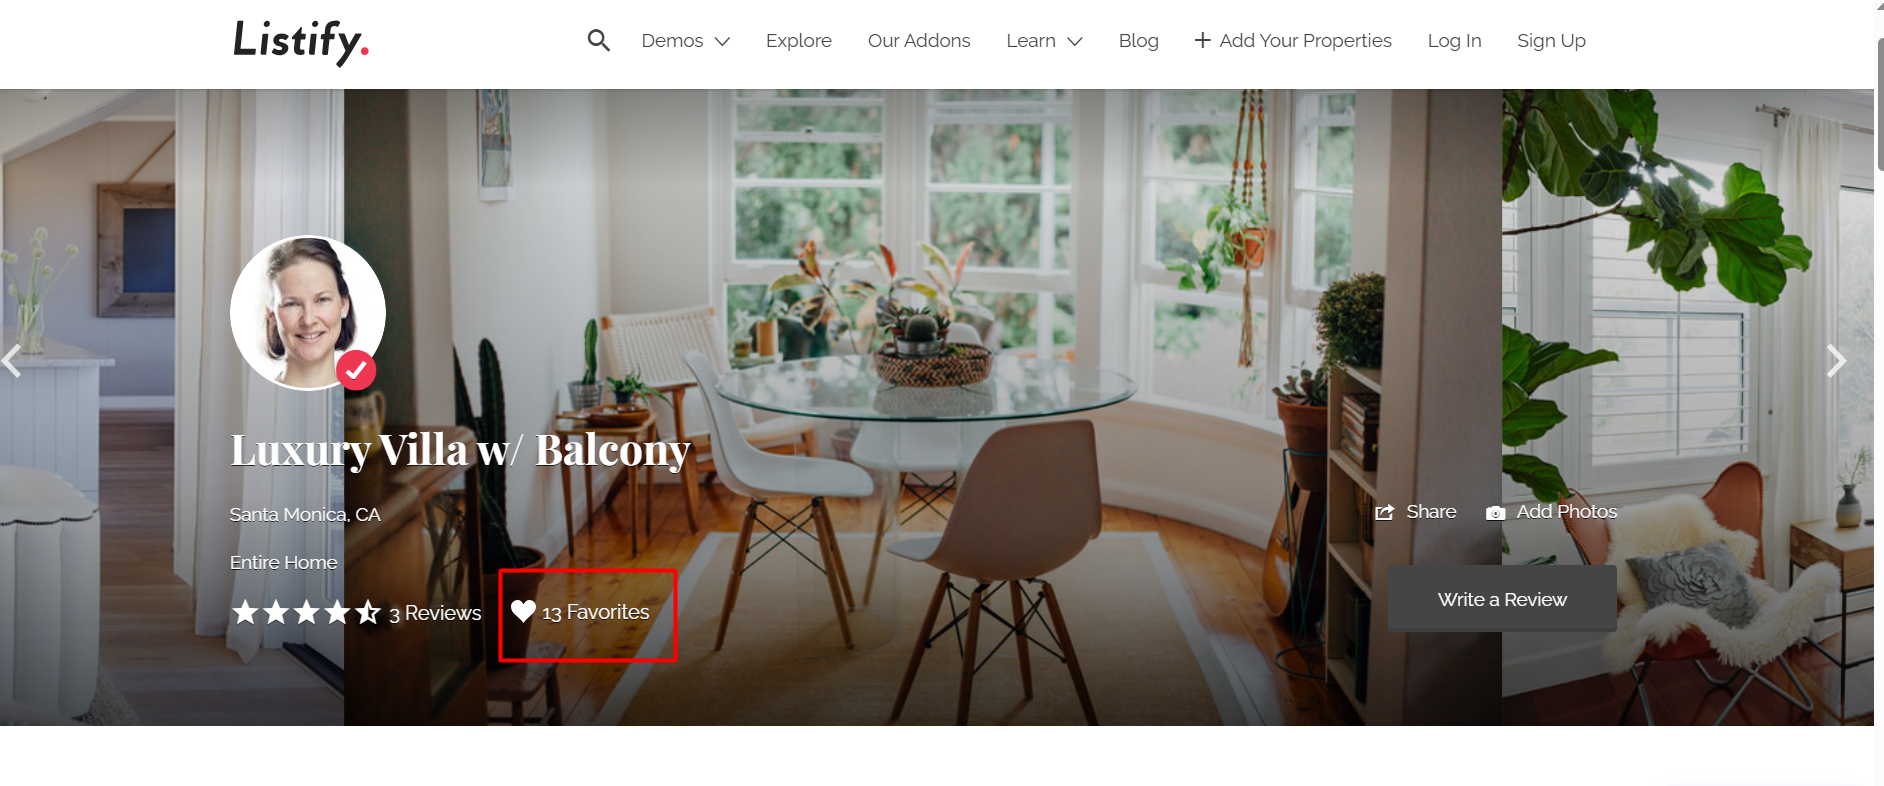
Users can click the heart icon to:
- Add a listing to their favorites list.
- Optionally include a personal note about why the listing is a favorite.
To show users their saved favorites, add the following shortcode to a new WordPress page:
[astoundify-favorites-dashboard]- Create a new page and insert the shortcode above.
- Publish the page.
- Go to Appearance ▸ Menus and add this page to your navigation for easier access.
Each user’s public profile page will also show their saved favorite listings.
🔖 Bookmarks for WP Job Manager (Jobify)
For the Jobify theme, install and activate the Bookmarks for WP Job Manager plugin.
Once activated:
- Users will see a “Bookmark this” option at the top of each listing.
- Clicking this will allow them to save the listing and add an optional note.
- The bookmark will be stored in a custom database table for that user.
Displaying User Bookmarks
Add the following shortcode to a page to display a logged-in user’s bookmarked listings:
[my_bookmarks]Optional shortcode attributes:
posts_per_page— Control how many bookmarks are shown per page (default: 25)
You can also add this page to your site menu under Appearance ▸ Menus.
📝 Summary
- Listify = Use Favorites for WP Job Manager
- Jobify = Use Bookmarks for WP Job Manager
Both plugins enhance the user experience by allowing them to save listings they’re interested in and revisit them later.
Was this article helpful? Let us know or reach out to Astoundify Support for assistance.