All sales are processed via the Store Owner’s payment gateways and a Vendor’s revenue is paid out to them, by the Store Owner, as a commission.
When vendors sell a product, they won’t be assigned a commission until the order is completed. Once the order reaches this status, commissions will be assigned using the vendor’s rate (or your default if not set). If a product rate was set, it will override this.
The steps of setting up a commission rate include first setting up a vendor profile. If you’re building a place to sell shippable goods for your WooCommerce store, the WooCommerce Product Vendors plugin is required in this case.
Step 1: Install the WooCommerce Product Vendors plugin
The $79 Product Vendors plugin is required to create a marketplace with WooCommerce, but all other setup costs are optional. Vendors of Products will cover the process of inputting vendor information and tracking commissions. 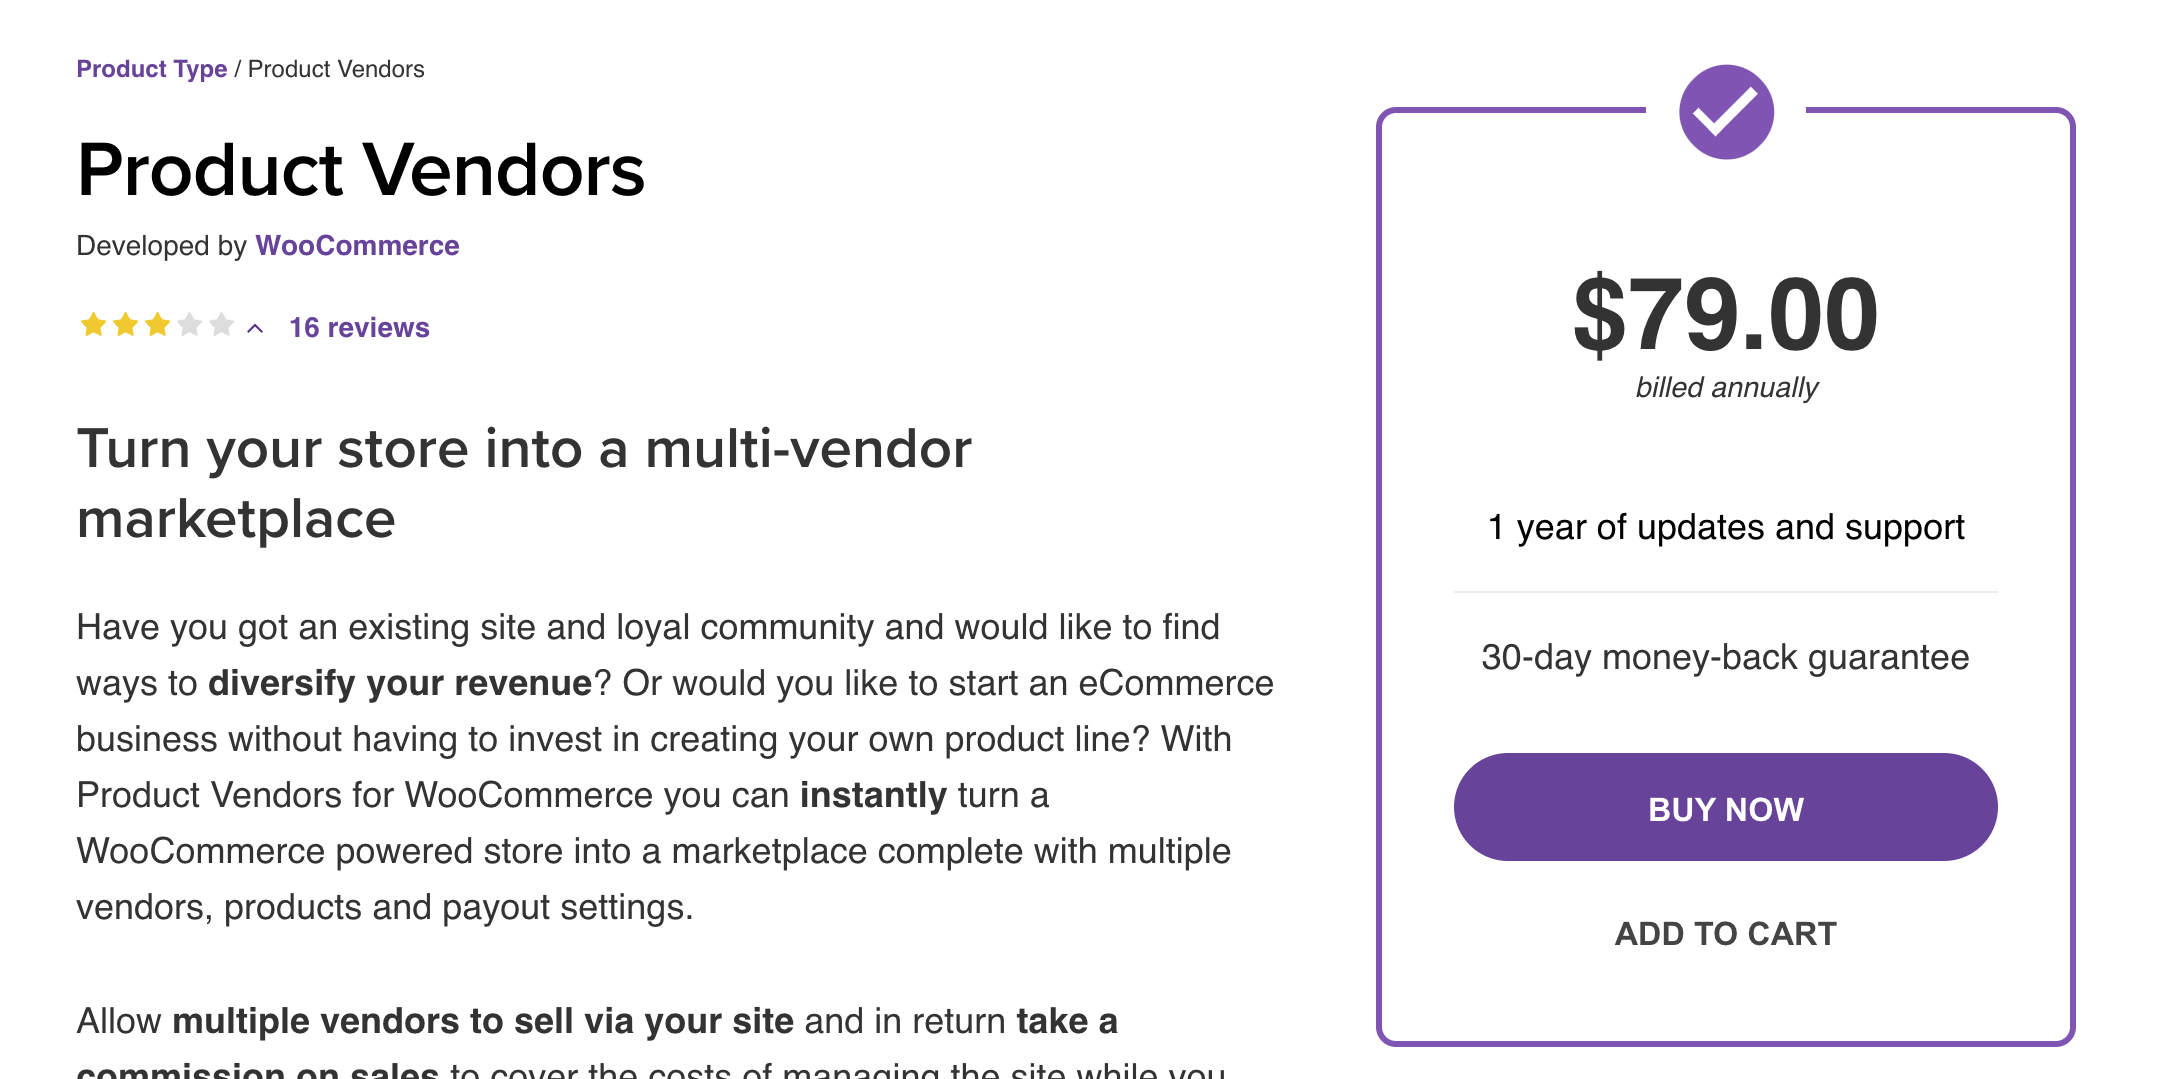
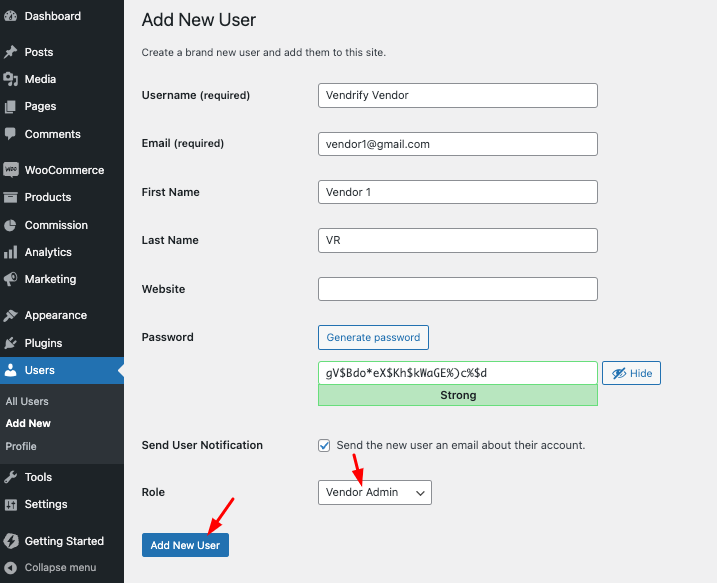
Step 2: Create a New User
Login as Administrator and navigate to Users > Add New.
Complete the fields on the Add New User page as desired. This will be the account for your Product Vendor. It is critical that you select Vendor Admin as the new user’s Role from the drop-down menu. This enables your Product Vendor to manage their items.
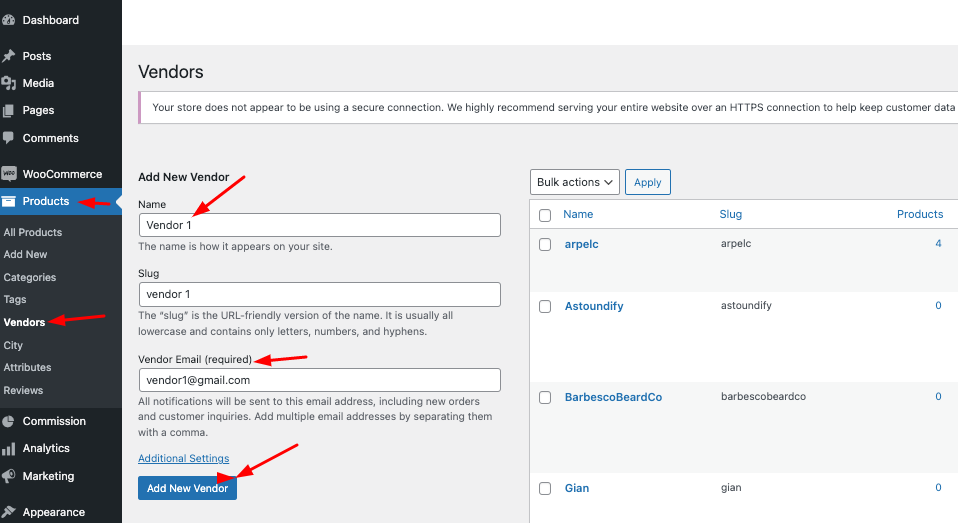
Step 3: Create a Product Vendor
Navigate to Products > Vendors and establish a new vendor as shown below:
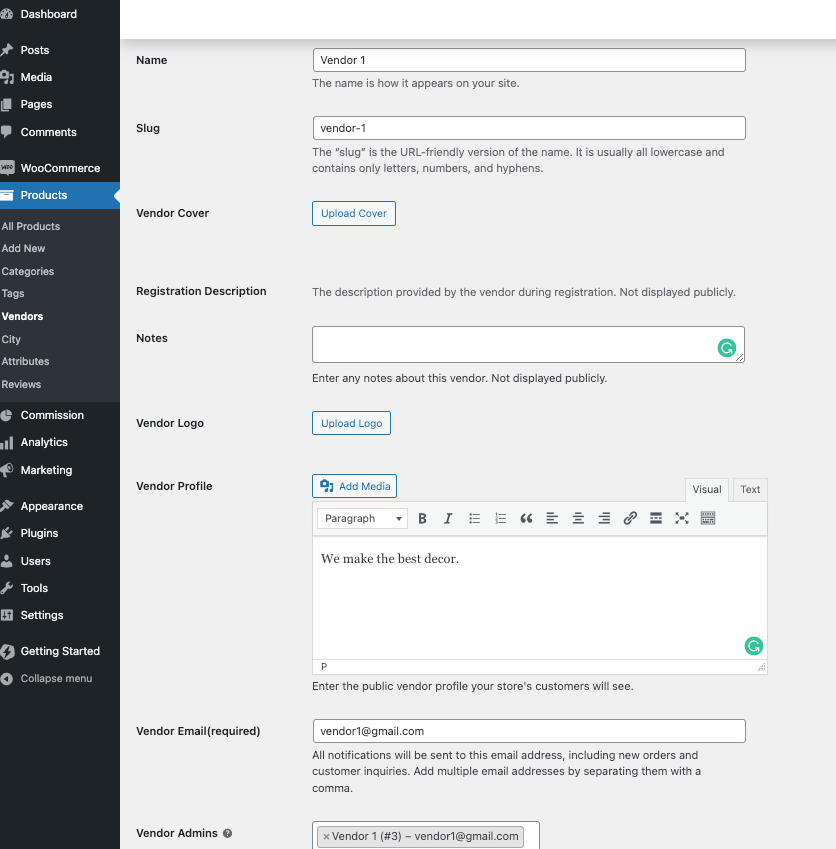
Step 4 Fill Vendor Information and assign Vendor Admin
Ensure that the Vendor Admins field contains the email address of the Product Vendor. You can search for users by clicking on this field. By including the Product Vendor in the Vendor Admins field, the user will be able to manage their items. Also make sure you include the Vendor cover and logo images with a vendor description to be represented on the frontend.
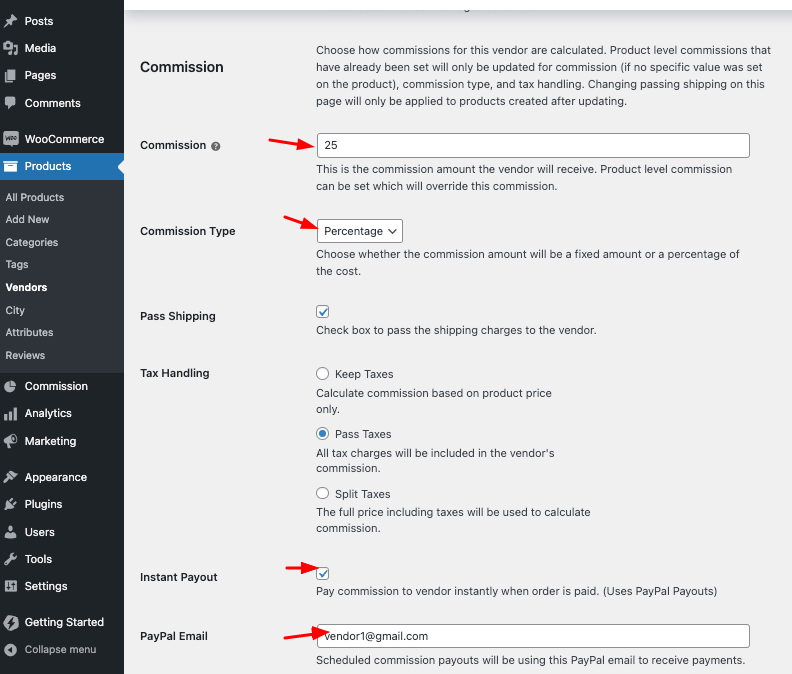
Step 5: Assign vendor commission and commission type.
On the same page, the remaining fields are either for display on the Vendor’s Profile page or are commission-related. As the Vendor Admin, you can set the commission here or on the product.
In this section, you can choose how commissions for this vendor are calculated. Product-level commissions that have already been set will only be updated for commission (if no specific value was set on the product), commission type, and tax handling. Changing passing shipping on this page will only be applied to products created after updating.
You will be able to choose whether the commission amount will be a fixed amount or a percentage of the cost. In the same section, you can opt to pay commission to the vendor instantly when the order is paid. Do note that with this option it uses PayPal Payouts, therefore it is required that you provide the your Paypal email/ID.
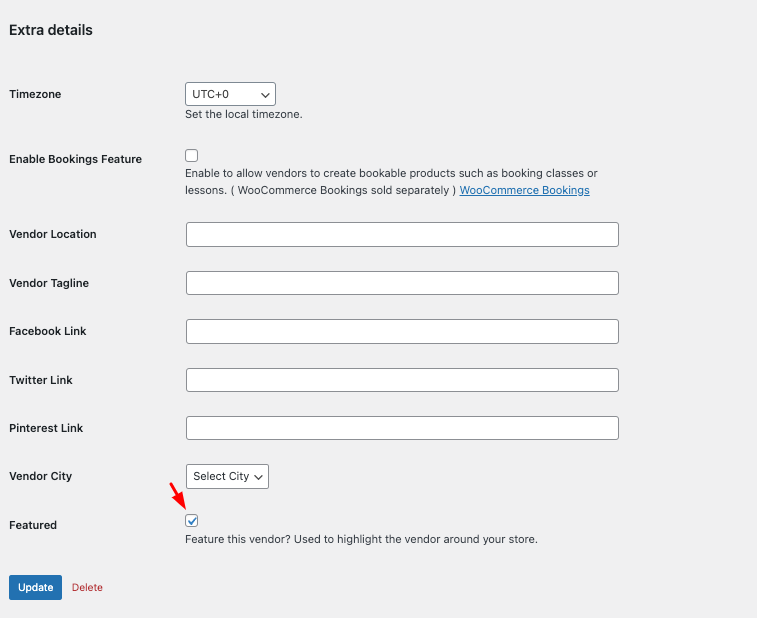
When it comes to filling the extra data you can opt to set the vendor as featured or not and add your timezone and vendor city as shown:
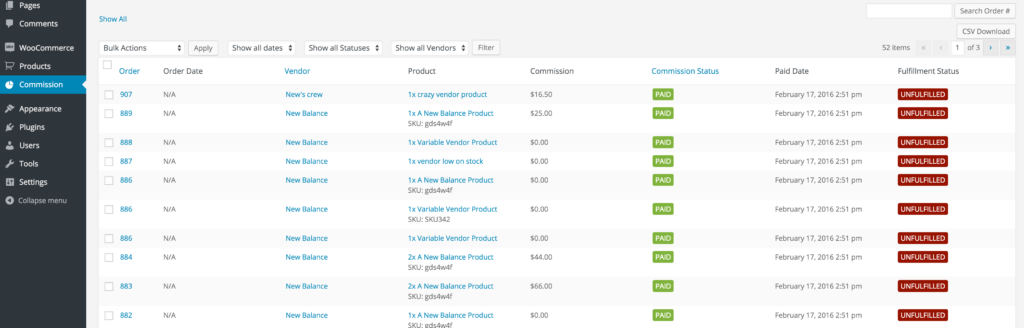
Commissions Dashboard
The Product Vendors Commissions dashboard displays the commission of each product by order. Other info, such as commission/shipping/fulfillment status, is also included.
The first is the “Export Commissions” button, which lets you export a CSV file of the commissions paid or unpaid in the current view. If you use the filter function, then the export shows data for the filtered view.
The second export button is the “Export All Unpaid Commission.” This exports a CSV file for all unpaid commissions, regardless of the view. This is useful when you want to manually process your mass payouts via PayPal Payouts.
Commissions can be calculated to include or exclude taxes in the product price.