The Jobify theme has recently been based on pure WordPress widgets in the past with only classic and extended skins to show off from our demos.
With the latest version 3.19.0, we have introduced another skin of the theme and added smoother compatibility with Elementor to help build some pages in this skin. Please have a look at this Jobify Skin 1 Demo here.

In this documentation we will walk you through the steps to get the skin installed to your site as follows.
Step 1. Ensure that you have the latest version of the theme. Go to the ThemeForest Download page and download the latest version of the theme and click on “Installable WordPress Files Only” to start the download.
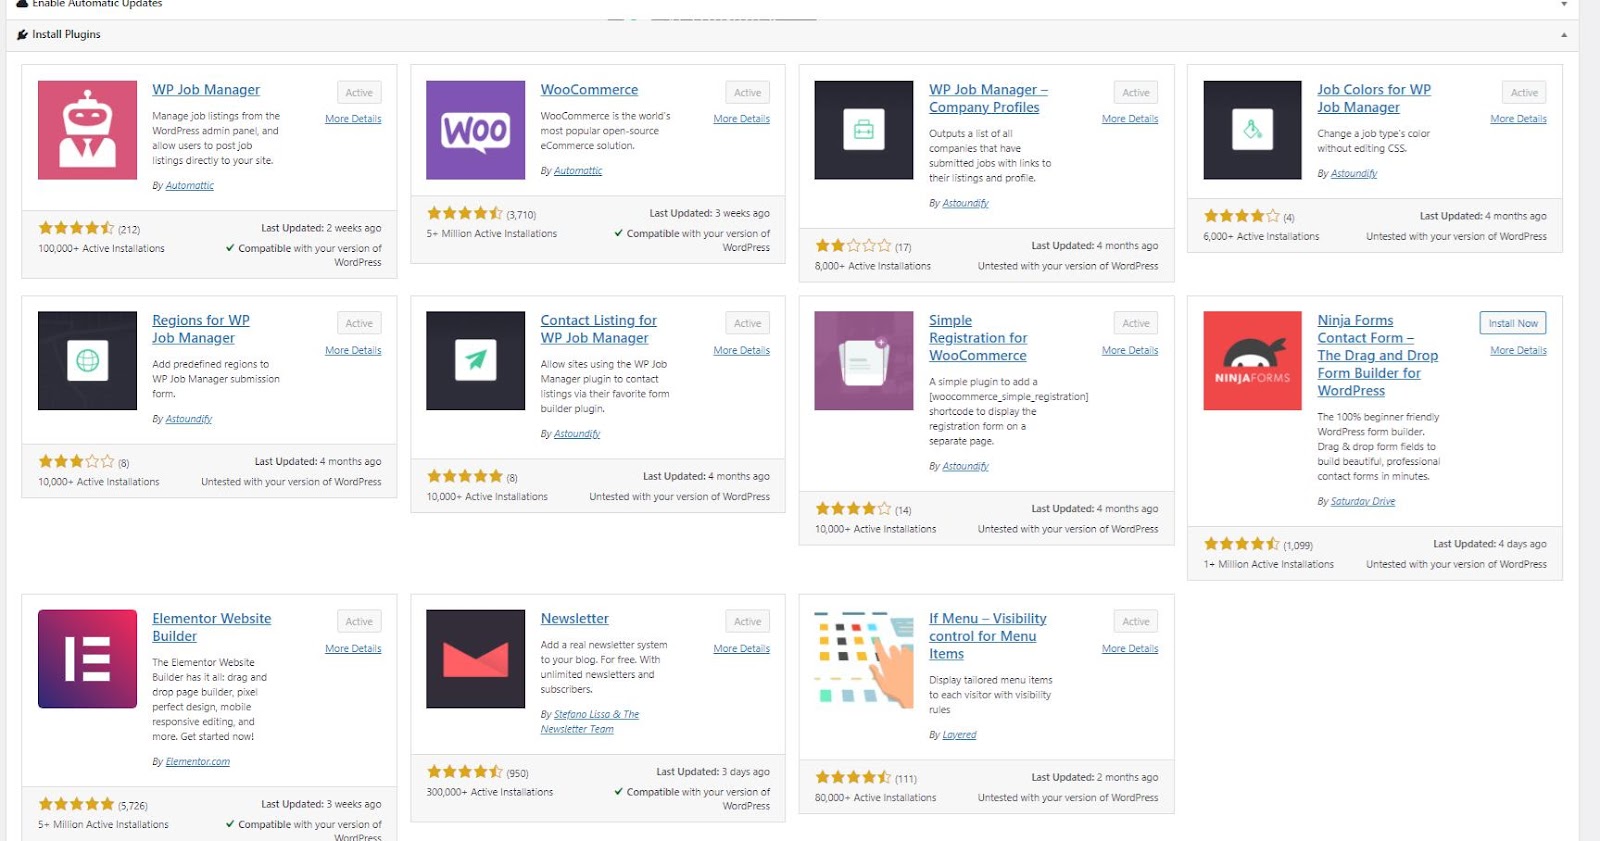
Step 2. Once you have installed the latest version, ensure that you have the recommended plugins installed. You can check the recommended plugins under the Get Started section > Install Plugins. Here are some of the recommended plugins of the Jobify theme in a screenshot:
Step 3. Import the Demo Content of the skin. You should ensure that you have installed the recommended plugins for the skin 1 layout, this includes both Elementor and Elementify plugins. Once done click on the Import Content button.

Once the Demo is imported fully you should have a skin similar to the one displayed in this screencast or in our demo here.
How To Set Page Templates.
For different pages to adapt the original imported demo content instead of showing blank pages, you would need to set their respective page templates.
To set a page template please ensure that you edit the page and head to the page attributes and select the template for the page.
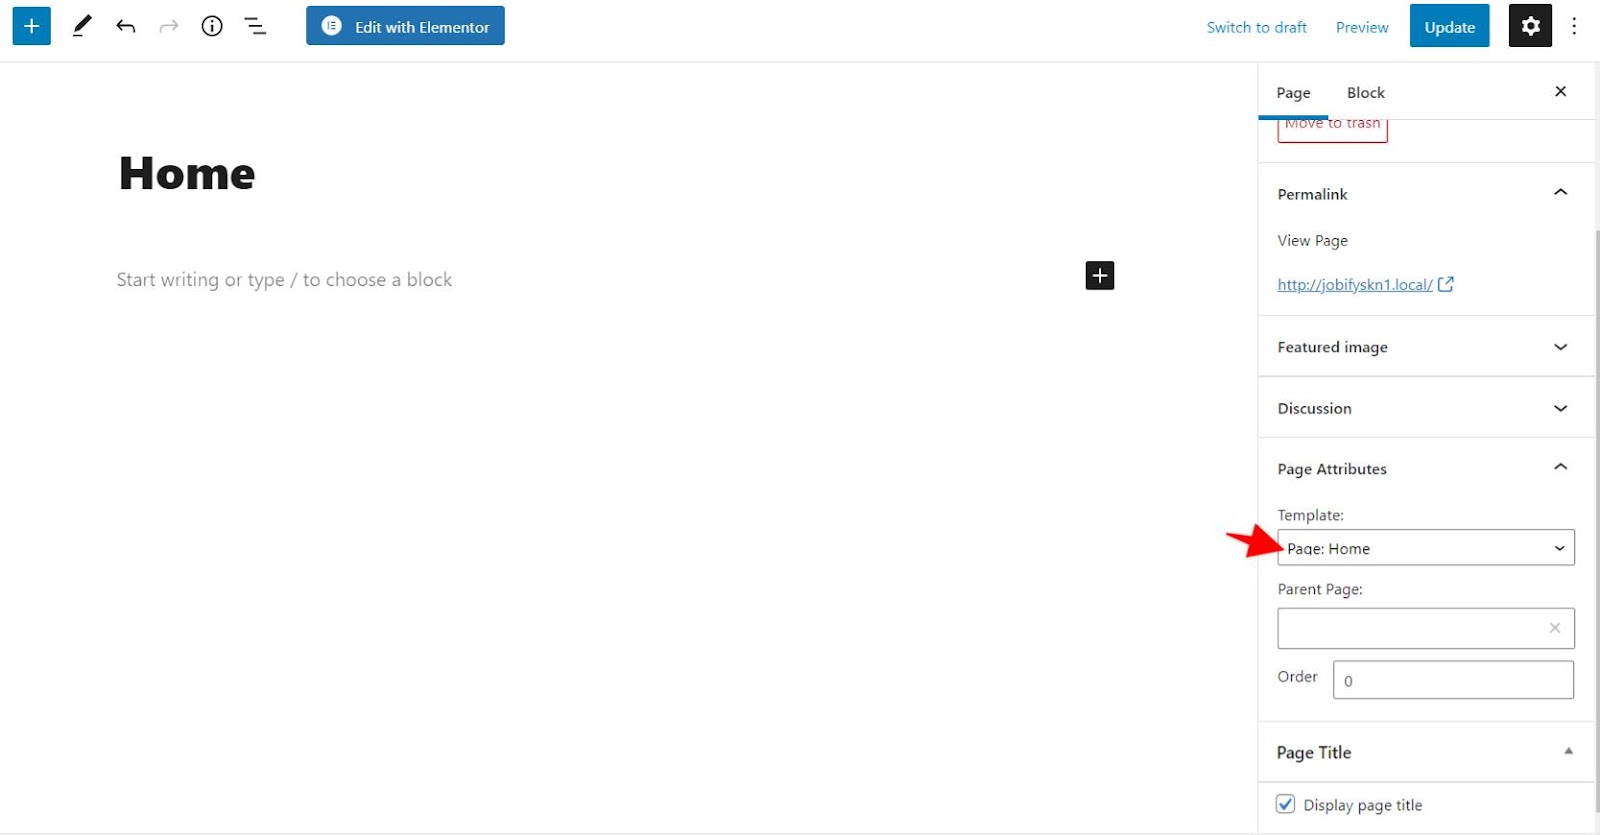
Here are some pages to set templates for them to display content:
- Homepage:- Set Page:Home template
- Find a Job:- Set Theme template
- Pricing:- Set Jobs: Pricing Plans template
- Testimonials:- Set Page: Testimonials template
- Elementor Custom Page:- Set Elementor: Full Width template