Once you have created listing packages using Listing Payments and WooCommerce products, you may want to display these packages on a dedicated frontend page so users can view and select a package before submitting a listing.
Step-by-Step Guide
- Create a New Page:
Go to Pages ▸ Add New in your WordPress dashboard. - Assign the Correct Template:
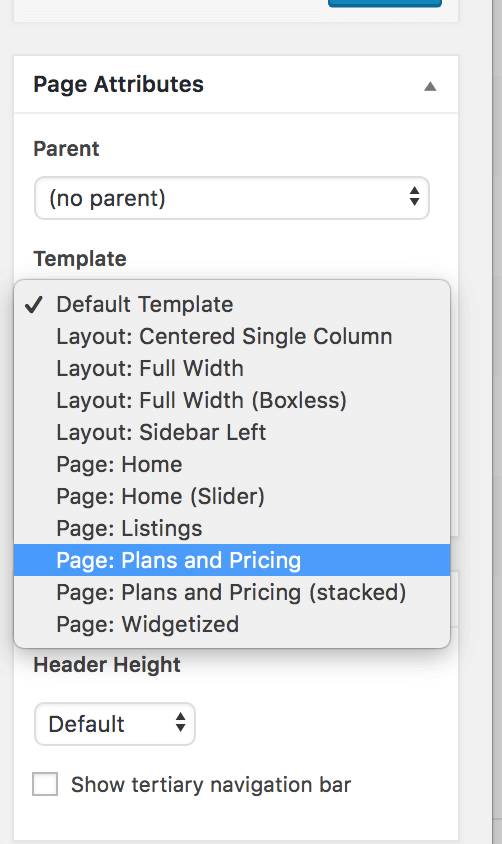
In the Page Attributes section, assign one of the following templates:- Plans and Pricing – Displays pricing options in a column layout.
- Plans and Pricing (Stacked) – Displays pricing options in full-width rows for a more stacked appearance.
These templates are specifically built into a theme like Listify and will automatically pull in and display the listing packages you’ve created as WooCommerce products associated with your submission forms.
- Customize Page Content (Optional):
You can still add additional page content in the editor. Any text or media you place in the content area will appear above the pricing table on the frontend, allowing you to provide instructions, promotional messaging, or visuals.
Example Use Case
If you are running a directory website and want users to choose a package before submitting a listing, this page will serve as the first step in that journey. By linking to this page from your site’s main navigation or call-to-action buttons, you give users a clear overview of available listing plans (e.g., Free, Standard, Premium).
Visual Example
Need Help Linking Products to Packages?
Make sure each WooCommerce product is properly linked to a listing package using the settings under Products > Edit Product > Listing Package[under product data]. These settings determine what listing features are included with each package and how they behave on the frontend.
Related Resources: