The Listify theme is an easy-to-use theme with different functionalities. However, the main functionality of the theme should be well known to its users as well.
This documentation takes you through some easy-to-follow steps of creating a listing once you have finished installing and setting up the theme.
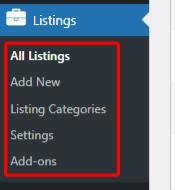
Step 1: Access the Listing Post Type
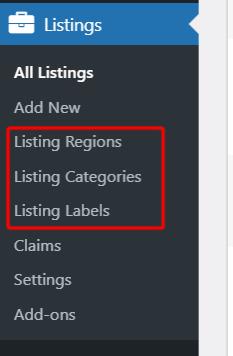
Upon installing the theme, it creates a post type named Listings where you can add a new listing and include new taxonomies, i.e categories, types e.t.c.
Please note that other supported plugins that are integrated with Listify will appear in this post type section. This includes plugins like WP Job Manager Regions, Listing Labels for WP Job Manager, Claim Listing for WP Job Manager among others.
Step 2: Select Add New Listing
Within the listing post type menu you need to click on the Add New link to start the creation process of your listing.
Step 3: Title & Description
Next ensure that you give the listing a New Title and Description to your listing here. This is essential for your users to be able to identify it while performing searches.

Step 4: Listing Data
The listing data is the most important section that users are mostly interested in. It contains fields that describe or gives more information about the listing.
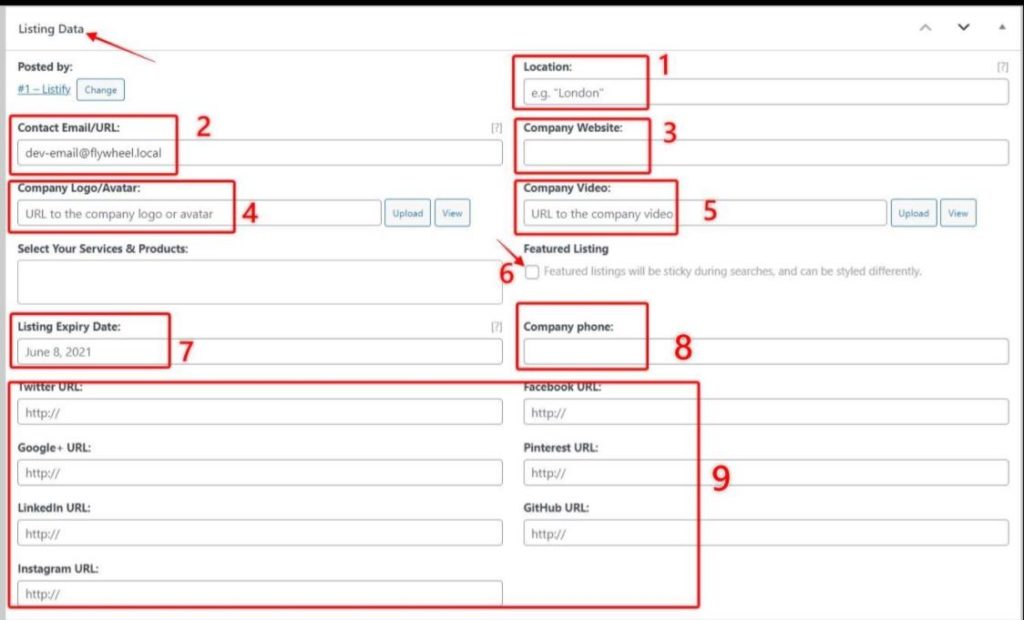
- Location: Enter the location of the listing here. E.g: London, New York.
- Company Email: Enter the email of the company posting the listing.
- Company Website: Enter the website URL of the company responsible for the listing.
- Company Logo: Upload the image logo/avatar of the company here.
- Company Video: This is an optional field if you have a listing video. Used to describe the listing better.
- Featured Listing: With this option, you can mark your listing as featured. All featured listings are displayed at the top of the results page.
- Listing Expiry: Enter the date to which the listing expires.
- Company Phone: Enter the phone number of the company to which users can contact the listing owner/company.
- Social Profiles: Enter the social profile URLs of the company
Services and Products: This option only appears if you have installed the Products For WP Job Manager plugin.
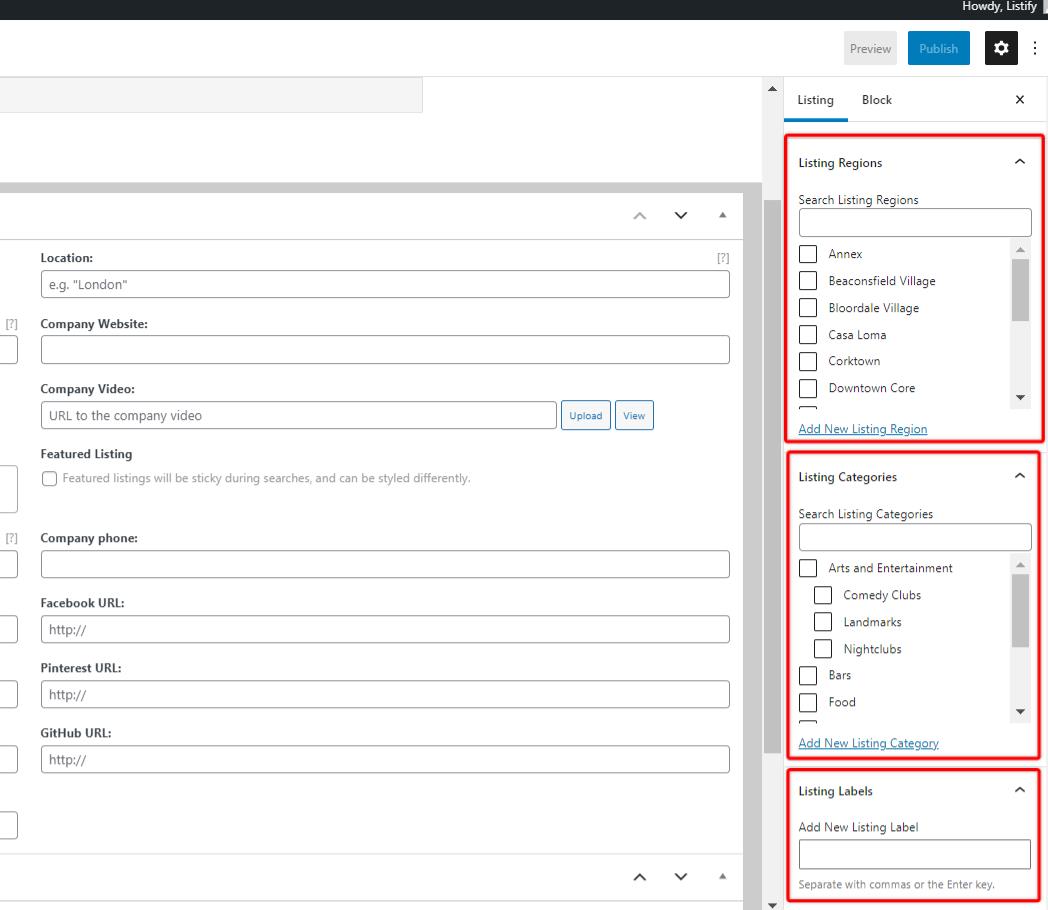
Step 5: Assign Listing Taxonomies
In this section you can select the respective taxonomies of your listings. Usually they may include categories, labels, regions but the two latter requires you to install their plugins.
Step 6: Upload Listing Featured Image and Listing Gallery
With these options you need to upload images of your listing. First you can upload the main image of the listing here that is able to capture the viewer’s attention.
Then you will need to upload several other images to give a broader view of your listing.

Step 7: Publish your Listing
Lastly, you simply need to hit the publish button for your listing to go live on your website.
Please note, that installing any other recommended plugins that are supported by the Listify theme may add other fields within this editor page. Thus this can change depending on the plugins you have installed.