To enable a listing favorites or bookmarking system on your directory site, you must first install the appropriate plugin for your theme. Listify Theme: Requires the Favorites for WP Job Manager plugin. Jobify Theme: Uses the Bookmarks for WP Job Manager plugin. ❤️ Favorites for WP Job Manager (Listify) Once […]
Manage Listing Labels in the Listify Theme
To add a tagging and filtering system to your listings, you must first get and install the WP Job Manager – Listing Labels plugin. Listing Labels act as the final level of classification for listings. They work alongside listing types and categories to help users narrow down their searches and […]
Contact the Listing Author in Listify Theme
In the Listify theme, allowing users or visitors to contact the listing author is flexible and easy. There are two main approaches you can use, depending on your needs and the desired layout of your listing pages. 🔧 Option 1: Use the “Listing: Author” Widget This is the recommended and […]
Remove the Theme’s Default CSS in Our themes
By default, the Listify and Jobify themes automatically loads its default CSS styles—even when you are using a child theme. This is intentional and ensures that all layout and visual components function as expected. When customizing your site, the recommended approach is to create a child theme and override specific […]
Adding a Badge to a Listing Package in Listify
To create pricing packages and display them with badges on your Listify site, you must first install and activate the following required plugins: Listing Payments – Enables monetization and the creation of listing packages. WooCommerce – Required to handle payments and product management. Once these plugins are installed and set […]
Managing Listing Labels in Listify
To use Listing Labels and Amenities, you must first purchase and install the Listing Labels plugin. Listing Labels act as the final level of categorization for listings in your directory, offering users a refined search and filtering experience. They serve as descriptors or amenities, such as: Vegan Gluten-Free Accepts Credit […]
Listing: Social Profiles
Note: This widget will only work when WooCommerce is active. Overview Widget Area: Single Listing: Sidebar Intended Purpose: Output a list of social profiles attached to the listing author. Settings Title (optional) The title of the widget. Icon Class (optional) The accompanying icon next to the title. Choose icon from ionicons.com.
Adding Photos to Listings
Once a listing has been approved and is publicly visible on your site, the listing owner can enhance their listing by adding photos to the gallery. This can be done easily from the frontend — no backend access is needed. 👤 Who Can Add Photos? Only the owner of the […]
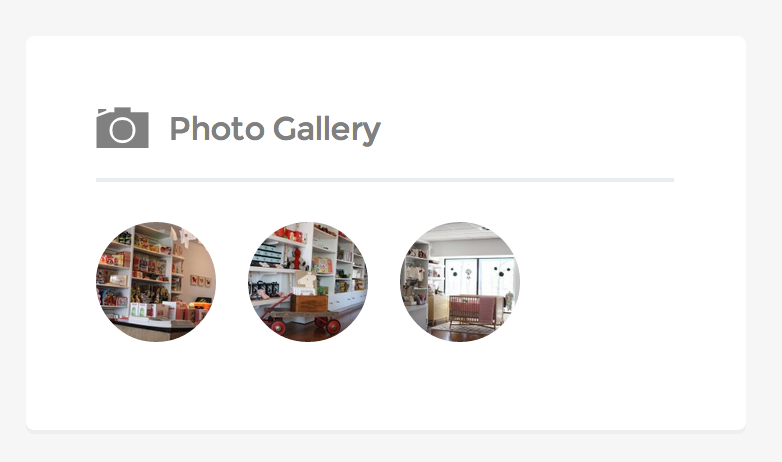
Listing: Photo Gallery
Overview Widget Area: Single Listing: Sidebar Intended Purpose: Output an overview of the items attached to the listing gallery with a link to more items if necessary. Settings Title (optional) The title of the widget. Icon Class (optional) The accompanying icon next to the title. Choose icon class from https://ionicons.com/v2/. Number to show How many thumbnails to show […]
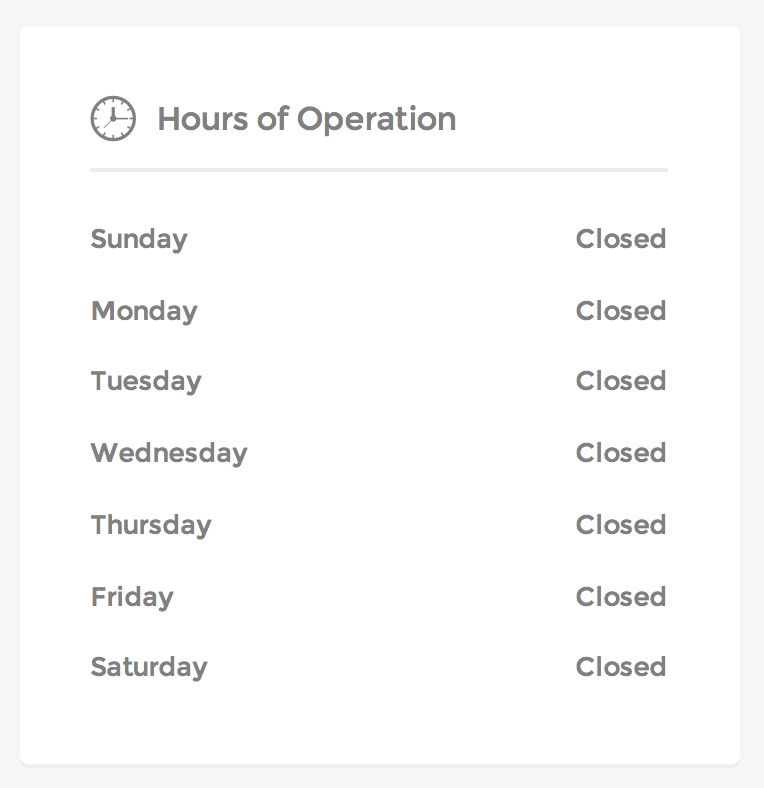
Listing: Business Hours
Overview Widget Area: Single Listing: Sidebar Intended Purpose: Output a table of entered business hours. Settings Title (optional) The title of the widget. Icon Class (optional) The accompanying icon next to the title. Choose icon class from ionicons.com.