If you are not sure of how to alter these settings, kindly consult your host to assist you on this. Recommended Settings To have a smooth theme setup and usage, we recommend on having your server environment comply to the following checklist: PHP version 7.2 or greater MySQL version 5.6 […]
Colors ▸ Global
Page Background Color The background of the entire website. Primary Color Used for design elements around the website that need emphasis. Accent Color Used for secondary design elements around the website that need emphasis. Body Text Color The global body text color. The typography options can be adjusted in Typography ▸ Global […]
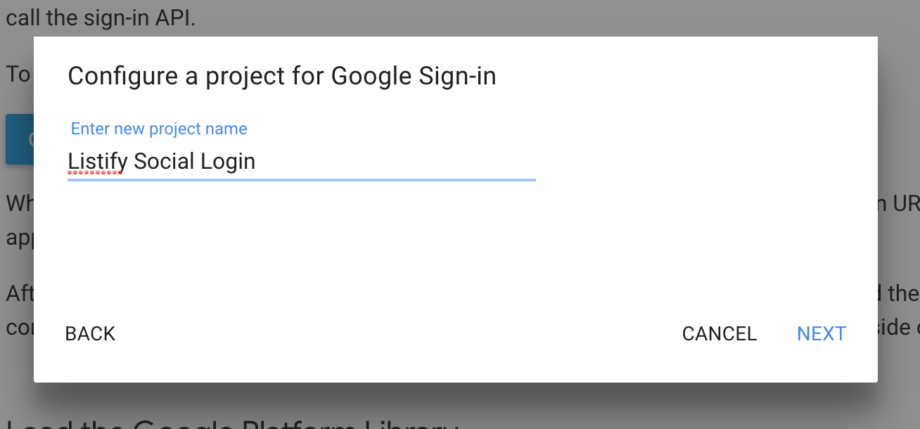
Configure Google
Create the Application Visit https://developers.google.com/identity/sign-in/web/sign-in and log in to your Google account. Click “Configure a Project” button on the page. Fill in the project details. Add a project name: Add an oAuth client name: Configure oAuth client: Configure Plugin Settings The Client ID and Client Secret can only be seen here. Visit […]

Configure Twitter
Create the Application Visit https://developer.twitter.com/apps and log in to your Twitter account. Click “Create an App” Configure Settings Fill out all required fields. You can find your callback URL in “Settings > Simple Social Login > Twitter”. Ensure “Allow this application to be used to Sign in with Twitter” is checked. Configure Permissions […]
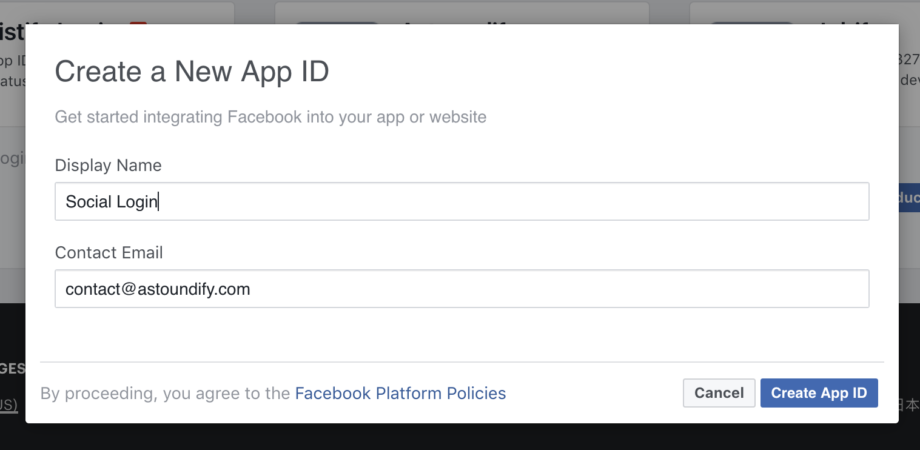
Configure Facebook
Create the Application Visit https://developers.facebook.com/apps/and log in to your Facebook Click “Add New App” Fill in the application details Add a Product On the next screen click “Set Up” for “Facebook Login” Configure Login On the next screen click “Settings” on the left menu. Do not use the Quickstart guides. On […]
Add reCaptcha to the Registration Form
If you would like to add ReCaptcha to the WooCommerce registration form, we would recommend using the reCAPTCHA by Astoundify plugin, this will add the new Google No reCAPTCHA to the site registration form. Instead of filling out one of those annoying CAPTCHA forms your site visitors will just click to confirm they are not a robot. First, download and install […]

Add Avatar Menu Item
Jobify has the ability to display the name and avatar of the currently logged in user in a menu area. To add this functionality simply: Click the “Links” section on the Menus screen. Add # to the URL field. You may also link to a page on your site, such as Account […]
How to configure PayPal?
WooCommerce allows you to integrate numerous Payment Gateways to your Listify website in order to process payments for listing packages, shop products, bookings etc. One of the default and most popular payment Gateways available through WooCommerce is Paypal. To start using Paypal on your Listify website you will need to configure it. You can follow these […]
How Do I Customize the Map Marker Icon?
The following is example HTML of a marker that is output on the map, and the CSS used to style it. Copy the CSS to your child theme to make modifications. The marker-color-78 is the ID of the category applied to the listing and is used to apply the chosen […]
Enable Themed Login
As of Listify 2.4.x all login links will open a themed login popup form.